In this article, we will explain, in detail, how to start staking your Akash $AKT and benefit from ~57% APY passive-income potential using the Cosmostation Mobile App.
Article Series (5 of 7)
This is the 5th article in our series relating to the purchasing, trading, and staking of Akash ($AKT). If you are just discovering this article series, you may want to review our previous articles to understand the complete steps;
- How To Purchase Cryptocurrency (Via BankdraftS) using Coinbase.
- How To Purchase Akash Tokens ($AKT) Using Gate.io.
- How To Stake Akash ($AKT) via Keplr.
- How To Stake Akash ($AKT) via Cosmostation Web Wallet.
- How To Stake Akash ($AKT) via Cosmostation Mobile App.
If you have already purchased your Akash ($AKT) and want to know how to create a personal wallet, using the Cosmostation App, and begin staking your AKT then this article is for you.
Cosmostation Wallet Options
Cosmostation offers two avenues for accessing/creating Akash Wallets;
- Cosmostation Web Wallet – The Cosmostation Web Wallet is an interface into Akash Wallets. It is not a complete wallet by itself like Keplr is. Instead, it provides the ability to connect to either of the following;
- Cosmostation KeyStation
or - Ledger Nano (hardware key device)
- Cosmostation KeyStation
- Cosmostation Mobile “App” Wallet – The mobile app wallet is available for both Android and IOS mobile devices.
In this article we are going to cover the steps required for installing/configuring an Akash ($AKT) wallet using the Cosmostation Mobile App.
Cosmostation Mobile App Wallet
The Cosmostation Mobile App is available for both IOS and Android. The installation/configuration steps are similar for both.
For the sake of this article, we are going to outline the steps using an Android device.
Steps for Installing/Configuring Cosmostation Mobile App
In this section we are going to install the Cosmostation Mobile App and setup our first Akash ($AKT) mobile wallet.
- Visit the App Store (IOS) or Play Store (Android) using your mobile device and it's browser. We have supplied the following links for your convenience;
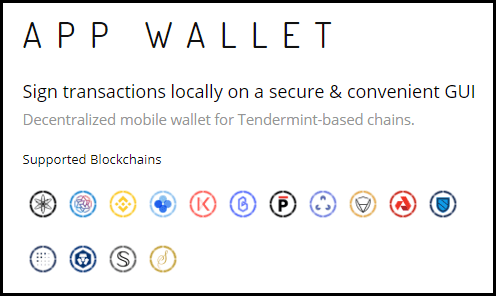
- The remainder of these steps are specific to Android users, however, the steps for IOS should be similar.
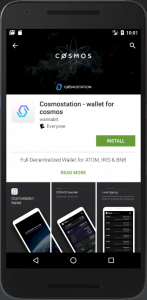
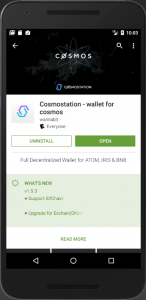
Once you are at the listing on the Play Store click on the big green “Install” button. - This will begin the installation of the Cosmostation Mobile App onto your mobile Android device. Once the installation completes, you will see the following (screen image). Just click the “Open” button to open the app on your mobile device.
- The Cosmostation Splash Screen will be presented next. If you wait for a few seconds, the following (screen image) will be shown. Since we are creating a new mobile app wallet with the Cosmostation Mobile App, to proceed click on the “Create” button.
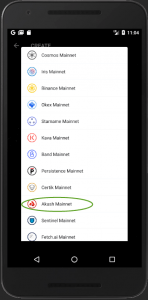
- The next screen provides a listing of all the Blockchains supported by the Cosmostation Mobile App. Scroll down in the list and select “Akash Mainnet” from the listing.
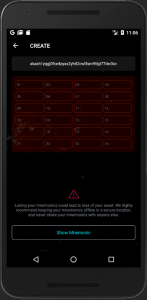
- The following (screen image) is now displayed. This screen allows you to see your new wallet address and by clicking on the “Show Mnemonic” button you can view your new wallets mnemonic pass phrase (24 random words). However, before you are presented with the mnemonic phrase you are asked to supply a PIN Number for your new wallet.
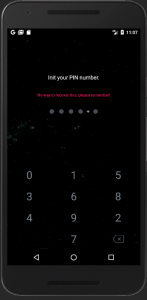
- Your PIN Number consists of 4 digits + 1 letter. Whatever combination you choose to use, you need to remember it. This secures your wallet and ensures that only someone with the PIN Number can generate transactions from your mobile wallet. Enter you desired PIN (4 digits + 1 letter).
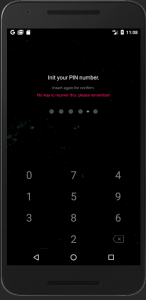
- Now confirm the PIN Number you just chose. To confirm the PIN Number you need to enter the PIN a 2nd time (see image below)
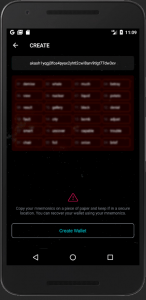
- Your PIN has been entered and now your 24 Word Mnemonic Phrase is displayed.
Stop Here – take the time to write down and verify the 24 word pin you are presented with. This Mnemonic Word Phrase will be needed if you ever need to recreate your wallet. If you don't write it down or you loose it, you will not be able to recreate your wallet. Be sure to store your mnemonic phrase in a safe place.
Once you have written down your wallet mnemonic pass phrase and verified it. Click the “Create Wallet” button to continue. - Your Cosmostation Mobile App Wallet is now created and the balances page is displayed for you.
Congratulations!
You now have a working Akash ($AKT) wallet on your Android device using the Cosmostation Mobile App.
Steps for Transferring Akash ($AKT) to your Cosmostation Mobile App Wallet
Now that you have your wallet created and ready to use on your Android Mobile device the next step that you are going to need complete is to deposit some Akash ($AKT) into your new wallet.
Once you have Akash in your wallet, you can then stake your Akash ($AKT) directly from your mobile device using the Cosmostation Mobile App.
Let's walk you through the steps required for depositing Akash ($AKT) into your wallet;
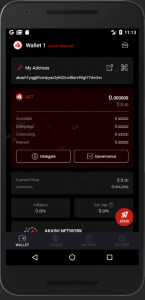
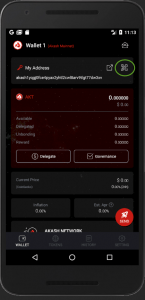
- Open up the Cosmostation Mobile App on your mobile device if it is not already opened. From the main balance screen (see image below) locate the QR Code Icon (green circle in image below). Tap on the QR Code image;
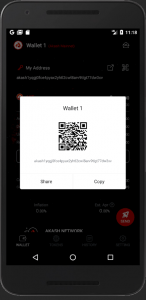
- The QR Code and Address for your mobile wallet are displayed. This is the Address (begins with akash…) for your wallet, it is where you want to have Akash ($AKT) sent so that it gets added to your mobile wallet's balance. You can copy the address to to your mobile device's clip-board by tapping on “Copy” or use the “Share” option for sending your address via Email, Bluetooth, and a host of other various messaging apps to anyone you want to give you address to.
- Now this next step all depends on where you are sending AKT from.
We have written other blog posts about how to buy Akash, how to trade Akash, and how to use other wallets with Akash. The basic principal is that you must own some Akash and hold it in another wallet or on an exchange.
To complete this step, you need to transfer Akash ($AKT) from your other wallet to your mobile app wallet. Transfers are quick and in most cases are completed in less than 30 seconds!
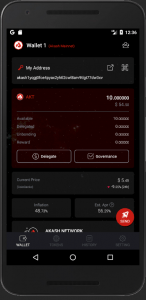
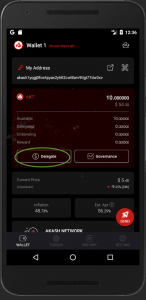
Once you complete the transfer, your balance page in the mobile app will resemble the following (see image). Your balance will be different than our example and will be based on the amount of Akash you transferred to your wallet.
With our example – you can see that we have 10.00 AKT available in our wallet. At the time that these screen images were taken our 10 AKT was equal to ~$54.50 USD.
How to Stake Akash ($AKT) with Cosmostation Mobile App Wallet
Now that our wallet is setup and we have a balance of Akash ($AKT) available, for us to delegate/stake, we can move forward with the final process of how to stake Akash ($AKT) with our new Cosmostation Mobile App. Here are the steps;
- To continue delegating or staking (terms used synonymously) locate and tap the “Delegate” button on the Cosmostation Mobile App
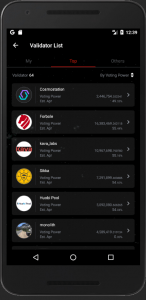
- You will be presented with a list of Akash Validators which you can stake your Akash ($AKT) with.
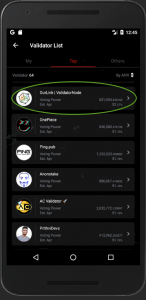
- Scroll down through the listing until you locate the Validator that you desire to stake your Akash ($AKT) with. In our example, we are going to stake our Akash with the OurLink | ValidatorNode validator, we can see by using this validator we can expect to have a ~52.07% APR. Select the validator you want to stake with by “tapping on the name” in the list.
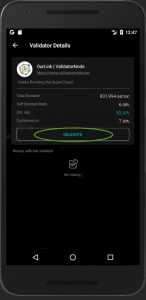
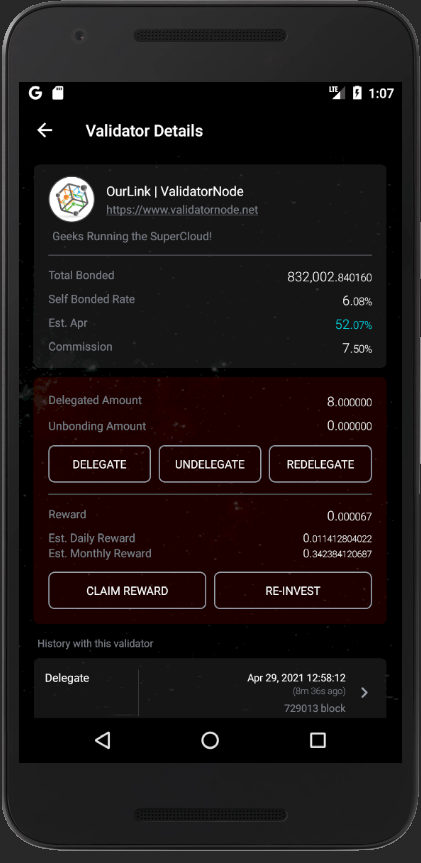
- The Validator Details screen is displayed. On this screen, you can see the Total AKT Bonded (delegated) to the validator, the Self Bonded Rate (AKT% the validator has staked), Estimated APR %, and the Commission Rate % the validator charges. Review the information and then tap “Delegate” to continue.
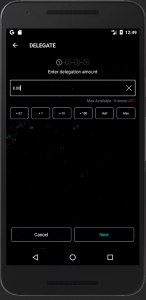
- The Delegate Amount page is displayed. Here, you are going to determine how much Akash ($AKT) you are going to stake to this validator.
NOTE – It's good practice to never delegate all your Akash. You want to keep a minimum amount of Akash in your wallet to cover any transaction fees. We recommend keeping at least 1 AKT in your wallet.
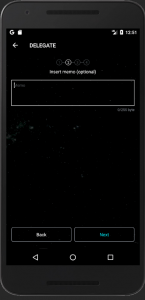
For this example, we are going to stake 8.00 Akash AKT with ValidatorNode so we enter 8.00 into the amount and click “Next” to continue. - The Delegate Memo page allows for you to add a memo (note) to your Delegation transaction. This is optional, the entered memo is displayed in your wallets transaction page and can be used as additional information relating to your delegation. For this example, we are going to leave the Memo blank and just tap “Next“.
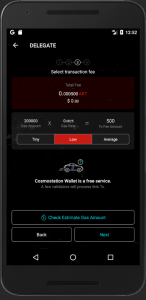
- The Transaction Fee page allows you to adjust the fees/gas that you pay for your Delegation transaction. At the time of this article writing, the transaction fees on the Akash Network are just 0.0005AKT (~$0.003 USD) with a set gas fee of .0025 AKT. You can play with the options on this page as desired. For this example we are going to leave all the options as displayed and select “Next“.
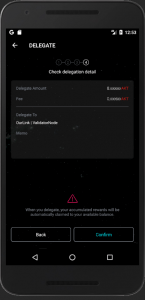
- The Delegate Confirm page is displayed with the details you entered for this Delegation transaction. On this page you are provided with a summary view of the transaction you are about to confirm. Review the information and tap the “Confirm” button.
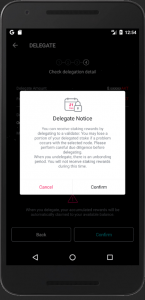
- The Delegation Notice information page is now displayed. This page is informational and is presented as a reminder of your delegation risks. Read/review the information and be certain you understand the risks of delegating/staking your Akash ($AKT). Tap on the “Confirm” button to continue.
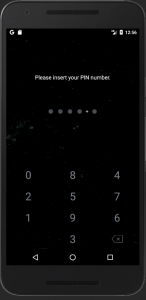
- You now are asked to enter your PIN Number.
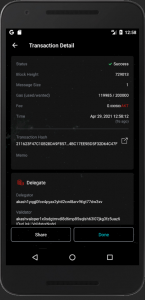
Remember your PIN Number? We created a PIN when you created your Cosmostation Mobile App Wallet. Enter your PIN to authorize the generation of the Delegation transaction. - Your Delegation/Staking Transaction Detail is displayed. This is the results of your delegation request. Ensure that the Status displays Success and then click “Done“.
Congratulations! You have successfully staked Akash ($AKT) on the Akash Network using your Cosmostation Mobile App Wallet.
Additional Information About Staking Akash ($AKT) with Cosmostation Mobile App
The following information is completely optional. We have added this information to this article to assist you with understanding the options available to you when staking Akash ($AKT) with the Cosmostation Mobile App.
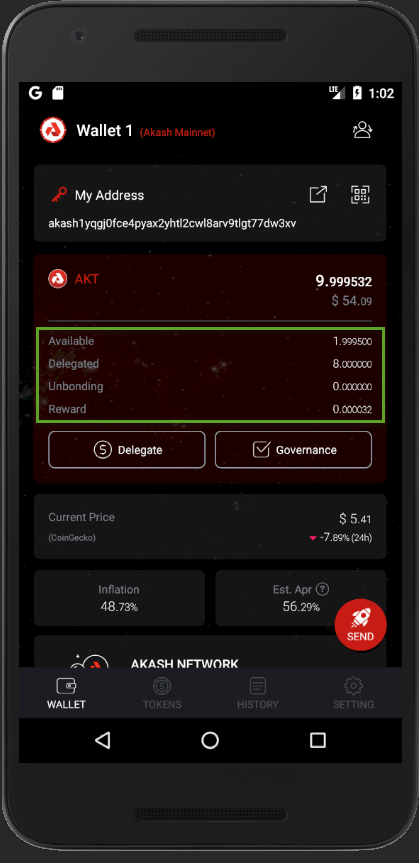
On the Wallet Balance page you will now see that you have additional information about your wallet. We have highlighted the information (image below).
In this section of your Wallet Balance page you now will see the following information;
- Available – this is the amount of AKT you have available. This is the non-delegated/staked amount – the amount available to withdraw or stake
- Delegated – this is the amount of AKT you have staked from this wallet
- Unbonding – this should always be equal to zero unless you have recently un-delegated/un-staked AKT (the unbonding period is 21 days)
(we'll have more information about unbonding in an upcoming article) - Reward – this is the amount of AKT you are earning with your delegated/staked AKT (current rewards are ~57% APY)
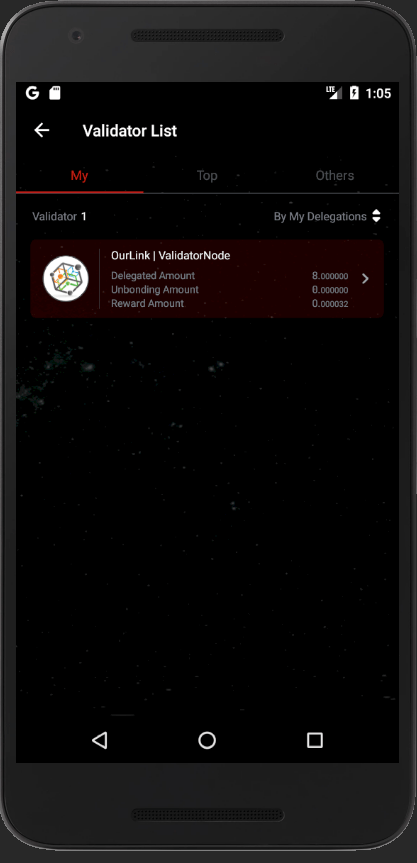
If you tap on the “Delegate” button, on your Balance page, you will be presented with a “My Validator Listing” which displays the validators you have delegated/staked with from this wallet.
Tapping on a Validator in the Listing (in this example, we only have one) will bring up the details about your delegation/staking with this validator.
As you can see, this screen provides you with a lot more information and options for this Validator. Now that you have delegated Akash ($AKT) you have options for delegating more with this validator.
Important Reward Buttons
The two most important buttons on this page we want to redirect you attention are;
- Claim Reward – This button will extract any rewards you have accumulated with the validator and deposit them into your wallet
- Re-Invest – This button will perform a reinvestment of any rewards you have with the validator and add the reward amount to your bonded amount
We recommend that you use the “Re-Invest” button daily. This will compound your bonded AKT earnings and lift it to over ~75% APY!!
Happy Staking!
Summary
In this article we have provided the steps outlining How to Stake Akash ($AKT) via Cosmostation Mobile App. This article is part of a series of articles that we are publishing to assist users of Akash ($AKT) and to help raise the awareness of Akash.
About Akash
The Akash Network (Akash) is a secure, transparent, and decentralized cloud computing marketplace that connects those who need computing resources (clients) with those that have computing capacity to lease (providers).
Akash acts as a “super” cloud platform (supercloud) – providing a unified layer above all providers on the marketplace so as to present clients with a single cloud platform, regardless of which particular provider they may be using. Clients use Akash because of its cost advantage, usability, and flexibility to move between cloud providers, and the performance benefits of global deployments. Providers use Akash because it allows them to earn profits from either dedicated or temporarily-unused capacity.
About ValidatorNode
ValidatorNode is a fast growing network of validator services. Having successfully partnered with the promising Akash Network we now have more than $10 million dollars worth of delegated crypto assets. Our innovative staking-as-a-service (SAAS) model allows retail investors/individuals to leverage their cryptocurrency tokens and earn profits. As a community-driven enterprise, we believe in mutual growth forging meaningful partnerships.
ValidatorNode “Delegator Partners” benefit from the highly secure and advanced and updated features of the ValidatorNode ecosystem. You make the maximum while we ensure seamless continuity and scalability of the validating and staking process.



Comment on Our Post